 How to Activate and Jailbreak Your OTB 1.1.2 iPhone Using Windows
Thursday, 13th December 2007, 12:12 pm
Instructions on how to Activate and Jailbreak a 1.1.2 Out of the Box iPhone using Windows.
These are Windows instructions on how to Activate and Jailbreak an iPhone that was shipped with the 1.1.2 firmware (OTB, OOB, OTTB) and the 4.6 bootloader. These instructions do not unlock your iPhone to use on other carriers. They do however allow you to install applications and in general use your iPhone as an iPod touch.
If you are not sure if you have the 4.6 bootloader then check the serial number of the iPhone. If the 4th and 5th digits are 45 or higher then you have the new bootloader and cannot unlock. Follow this tutorial until an unlock is found. As soon as a software unlock is released I will post instructions so check back.
**NOTE**: If you have opted to unlock your iPhone with TurboSIM or something similar this is the guide you should follow before inserting your TurboSIM.
**NOTE** (Wednesday, December 20th, 2007 12:00):
Here is a list of suggestions for those still having problems with the jailbreak server(Step 22). These suggestions have not been proven as it has always worked for me. However, they are still probably worth a try if the server is giving difficulty. If anyone has a suggestion to add then please let me know.
– Try to do a hard reset on the iPhone and try again
– Make sure you have a strong wireless signal
– Try the jailbreak with your iPhone still connected to the computer and iTunes
– Try using http://www.jailbreakme.com instead of http://jailbreakme.com
– Disable wireless encryption on your network
– Use a Wi-Fi connection without proxy
**NOTE** (Tuesday, December 18th, 2007 23:00):
I have posted a video of what the jailbreak process should look like. I hope this will clear up some of the steps if anything is not understood.
DOWNGRADE TO 1.1.1
For this you will need iBrickr 0.91, iTunes 7.5, and iPhone Firmware 1.1.1
– Update iTunes to get the latest version.
– Download iBrickr 0.91 from: here or here
– Download iPhone Firmware 1.1.1 from: here
Step One
Connect your iPhone to your PC and launch iTunes 
Step Two
Press and hold Home and Power button of your iPhone at the same time. Once the screen turns black, release the power button but keep on holding the Home button until Apple logo changes to the restore screen. Note: The screen may also just stay black. This is normal. Just hold the home button till iTunes detects the iPhone. 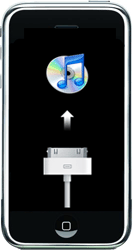
Step Three
iTunes will then detect an iPhone in restore mode. 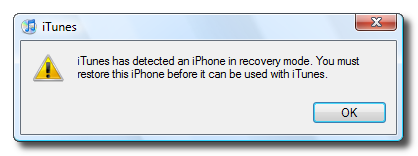
Hold down the Shift key and click Restore. 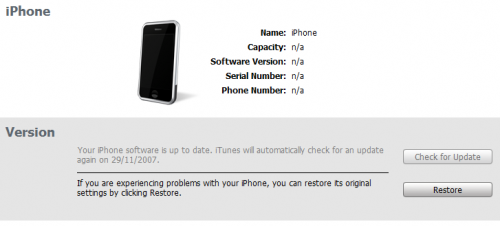
A dialog window will appear asking you to select the firmware to restore to. Select the 1.1.1 firmware we downloaded earlier (iPhone1,1_1.1.1_3A109a_Restore.ipsw) 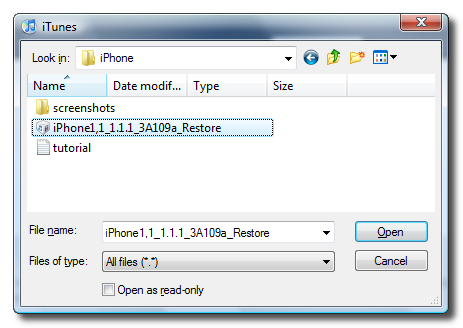
At the end of the restore you will get Error 1015. This is okay. Simply click the Ok button. 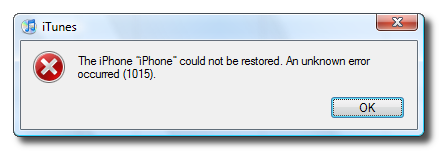
Another popup will appear telling you your iPhone is in recovery mode. Click the Ok button. 
Step Four
Exit iTunes by selecting Exit from the File menu. Press Control+Alt+Delete on the keyboard. Select to Start Task Manager. 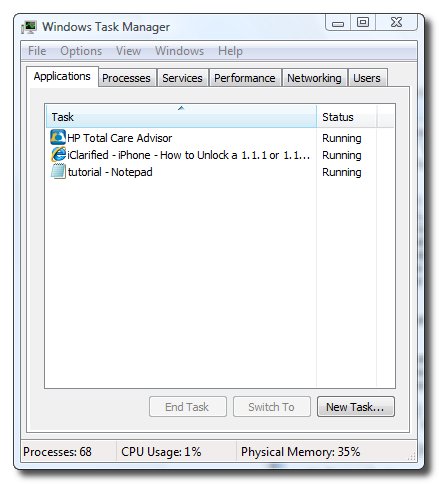
Click to select the Processes tab from the Windows Task Manager window. 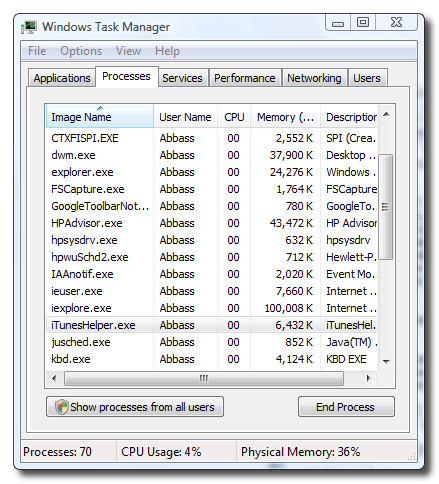
Select iTunesHelper.exe from the list of processes and then click the End Process button. A popup will appear asking you to confirm the end process. Click the End Process button from the popup. 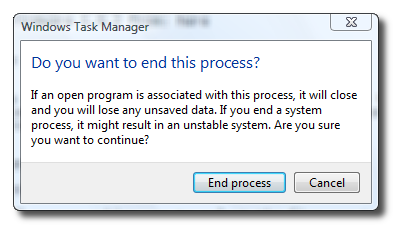
You can now close Windows Task Manager by click the X at the top right of the window.
Step Five
You will notice your iPhone is still in recovery mode. To exit recovery mode launch iBrickr.exe which you downloaded earlier. 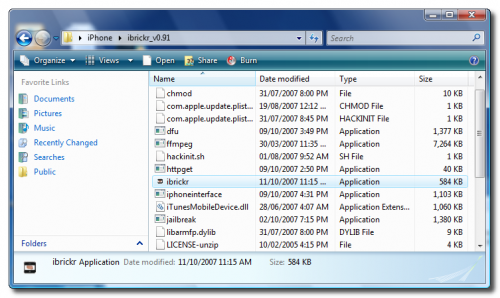
Click the Boot the phone link. 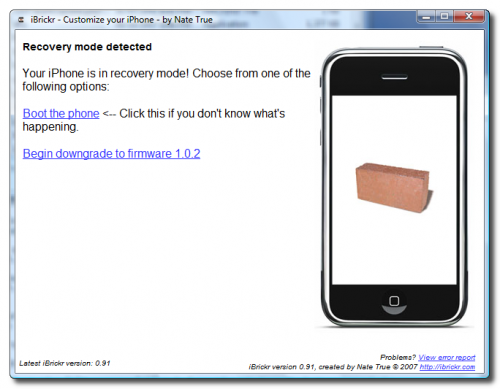
iBrickr will say Please wait while iBrickr tries to fix your phone. 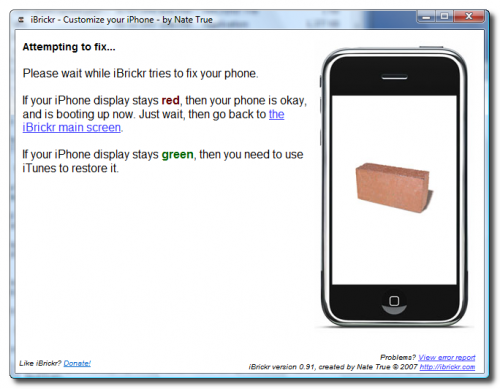
The iPhone will reboot and display the Activate screen again! 
You can now close iBrickr.
JAILBREAK 1.1.1
Step One
At the "Activate iPhone" screen move the slider to the right for emergency calling. ![1914[1]](http://iphone.pocitac.com/images/JakaktivovataJailbreaknou.2iPhoneWindows_DD49/19141.png)
Step Two
Dial "*#307#" then press the Call button. 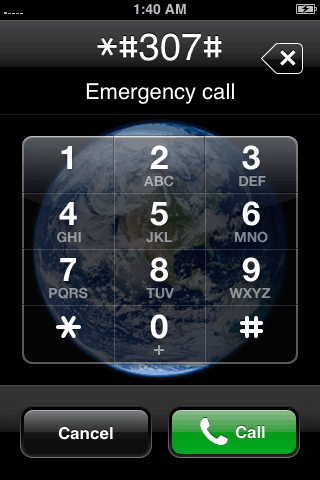
Step Three
You will hear the phone call itself. Use the back arrow to clear the number you just enter. Now dial "0" then press the Call button. 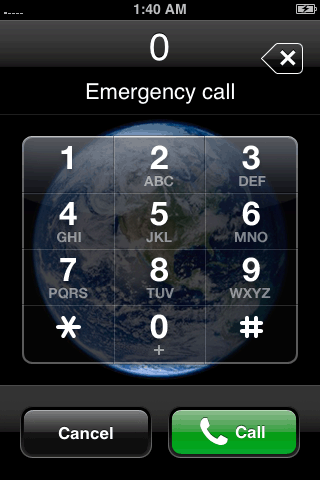
Step Four
Now you will be able to see the incoming call. Press the Accept button. 
Step Five
Now press the Hold button to put the call on hold. 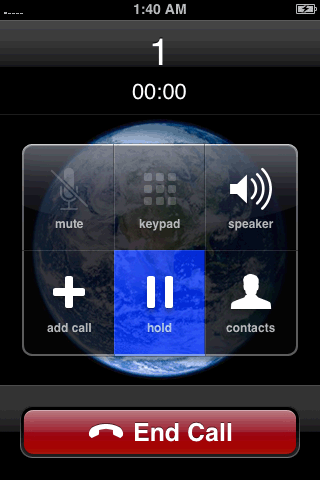
Step Six
The phone will call itself again. This time press the Decline button. 
Step Seven
We now are shown the keypad again. Click the contacts tab at the bottom. We are now presented with an empty contacts menu. Click the plus(+) button to add a new contact. 
Step Eight
Press Add New URL. 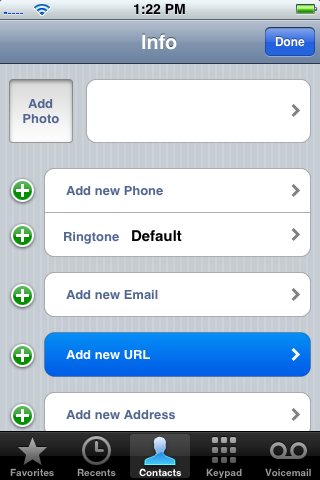
Step Nine
Input prefs: as the url then press the Save button. 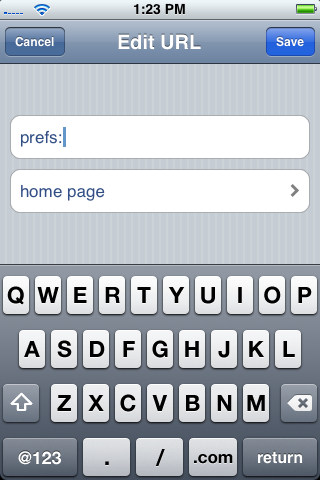
Step Ten
Press Add New URL again. 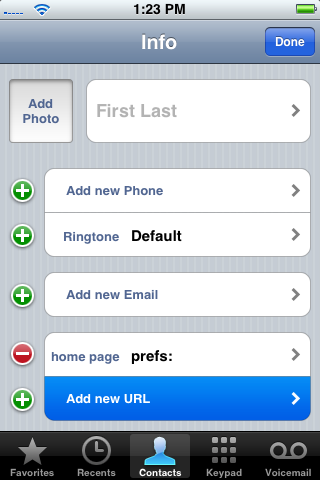
Step Eleven
Input http://jailbreakme.com as the url then press the Save button. 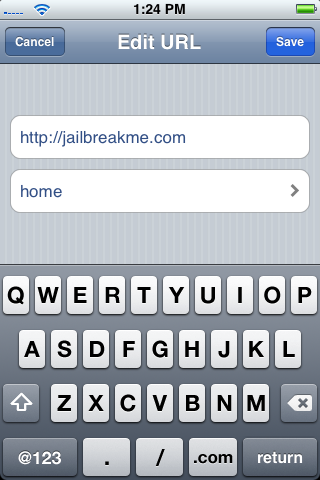
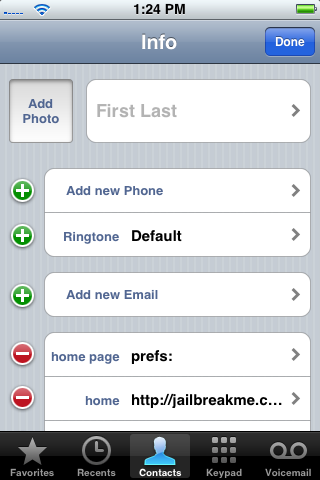
Step Twelve
Now in the contact view you will see the 2 urls. Press the prefs: url. 
Step Thirteen
This will bring up the iPhone’s Settings Menu. Select your wireless network from the Wi-Fi category. Press the Settings button at the top left to go back to the Settings Menu. 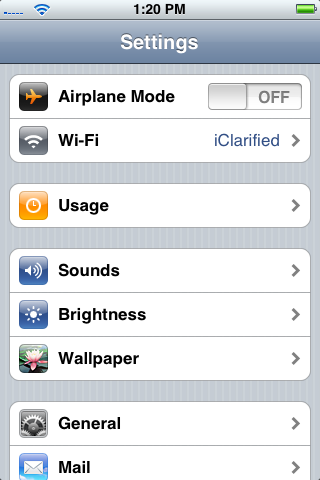
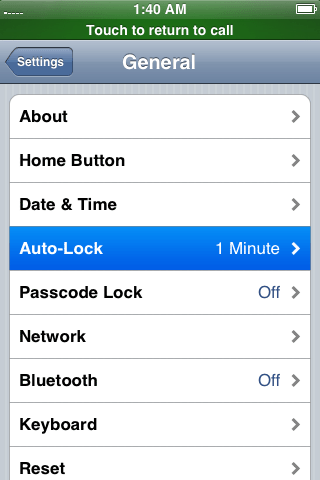
Step Fourteen
Select the General category from the Settings Menu. Then select the Auto-Lock subcategory. 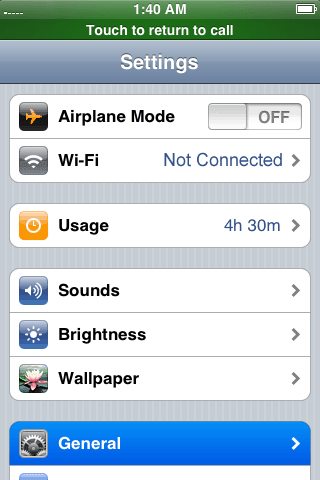
Press to select Never from the list of Auto-Lock times. 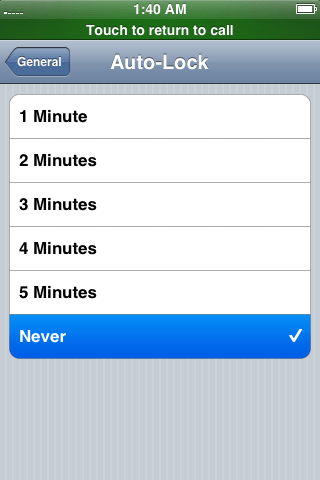
Press the Settings button at the top left to return to the settings window.
Step Fifteen
Press the Home button. At the "Activate iPhone" screen move the slider to the right for emergency calling. 
Step Sixteen
Now dial "0" then press the Call button. ![1916[1]](http://iphone.pocitac.com/images/JakaktivovataJailbreaknou.2iPhoneWindows_DD49/19161.png)
Step Seventeen
Now you will be able to see the incoming call. Press the Accept button. ![1917[1]](http://iphone.pocitac.com/images/JakaktivovataJailbreaknou.2iPhoneWindows_DD49/19171.png)
Step Eighteen
Now press the Hold button to put the call on hold. ![1918[1]](http://iphone.pocitac.com/images/JakaktivovataJailbreaknou.2iPhoneWindows_DD49/19181.png)
Step Nineteen
The phone will call itself again. This time press the Decline button. ![1919[1]](http://iphone.pocitac.com/images/JakaktivovataJailbreaknou.2iPhoneWindows_DD49/19191.png)
Step Twenty
We now are presented with our contacts menu. Press to select the contact we added. 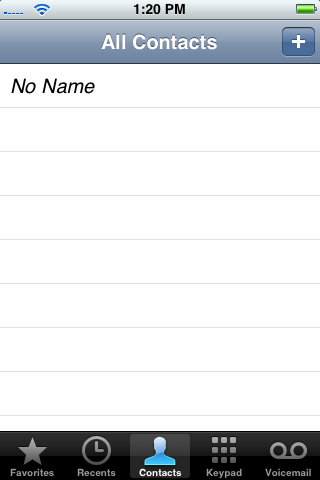
Step Twenty One
Press the http://jailbreakme.com url. This will open Safari and take you to jailbreakme.com 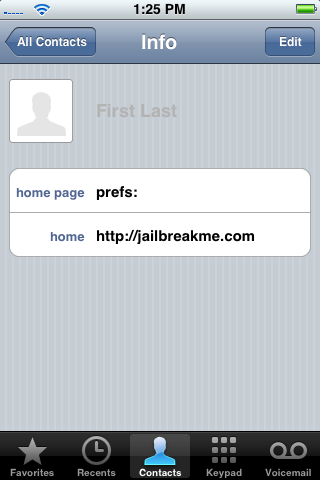
Step Twenty Two
Scroll down to the bottom of the page and press Install AppSnapp. 
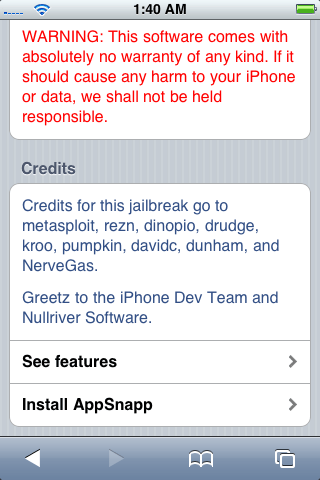
Phone will return to activation screen, but don’t panic, just wait. iPhone should automaticly restart after almost a minute. When the phone starts again, it should no longer say Slide to emergency, but rather Slide to Unlock. This means it was successfull!
I’ve had a few reports of the emergency slider not changing to the unlock slider. The best suggestion so far has been to keep the iPhone connected to the computer and make sure its detected in iTunes. Otherwise it seems to work if you retry installing AppSnapp till it works. Don’t know what the issue is exactly (maybe a server load issue) but if it doesn’t work immediately then try again. 
UPGRADE TO 1.1.2
– Download the Jailbreak 1.1.2 package from: here.
– Download the 1.1.2 Firmware from: here
Step One
Launch Installer from your springboard. 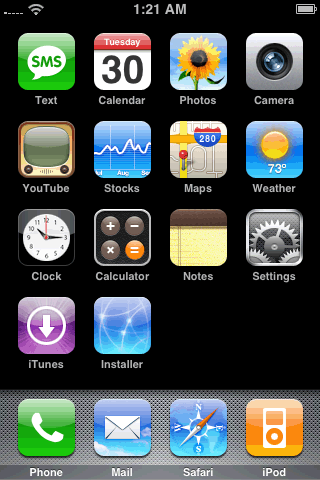
Select Install from the tabs at the bottom. 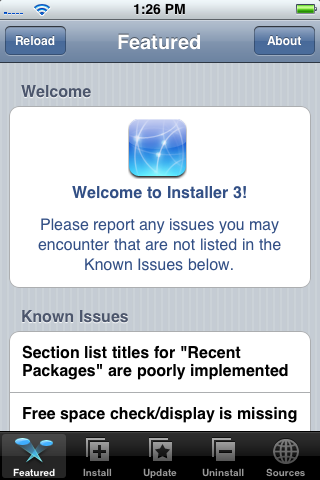
Scroll down and select Tweaks (1.1.1) from the list of categories. 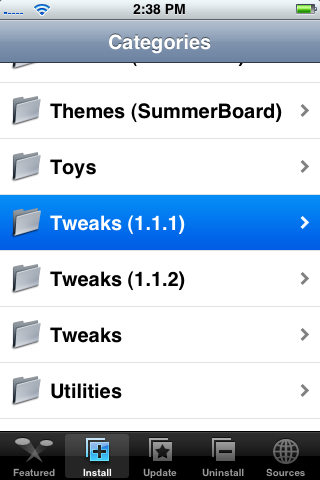
Press to select OktoPrep from the list of Packages. 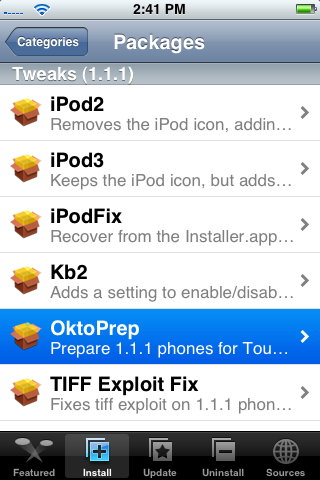
Press the Install button at the top right and corner of the screen. 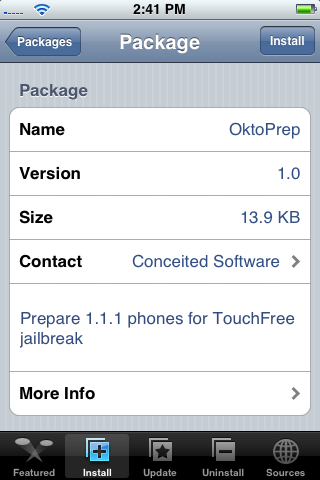
Press Install again to begin the installation. 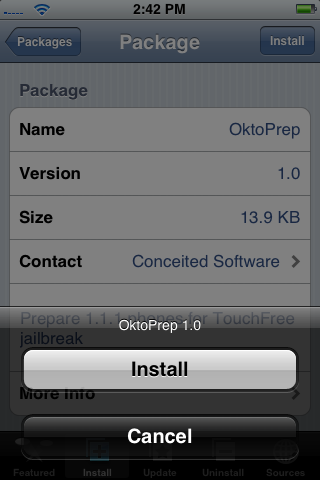
When OkPrep finishes you will be notified that it is now okay to upgrade to 1.1.2. Press Ok. 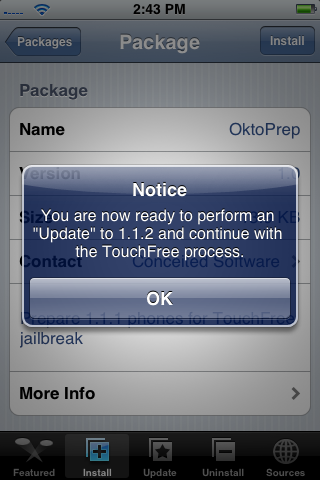
Step Two
Reboot your phone by holding down the Sleep/Wake button for three seconds. Move the power slider to right to power down. Then press the Sleep/Wake button again to power back on. ![]()
Launch iTunes. ![1901[1]](http://iphone.pocitac.com/images/JakaktivovataJailbreaknou.2iPhoneWindows_DD49/19011.png)
Name your iPhone if it asks then click the Done button. 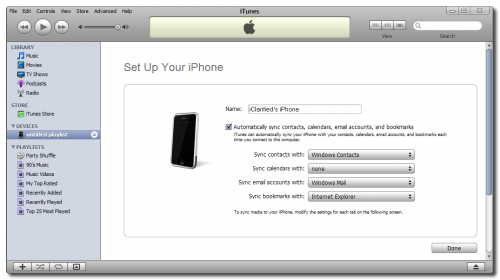
Step Three
Reboot your phone by holding down the Sleep/Wake button for three seconds. Move the power slider to right to power down. Then press the Sleep/Wake button again to power back on. ![]()
Step Four
Launch iTunes. ![1901[2]](http://iphone.pocitac.com/images/JakaktivovataJailbreaknou.2iPhoneWindows_DD49/19012.png)
Name your iPhone if it asks then click the Done button. ![1943-500[1]](http://iphone.pocitac.com/images/JakaktivovataJailbreaknou.2iPhoneWindows_DD49/19435001.png)
Step Five
If you get a dialog window asking you to update to 1.1.3 then click the Don’t Install button. 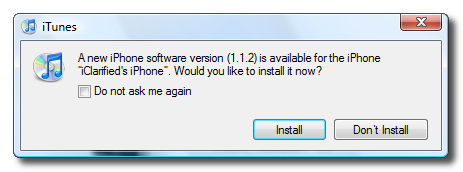
(NOTE*: The image shows 1.1.2 because i don’t have an image for 1.1.3 yet)
Hold down Shift and click the Update button to update to 1.1.2 ![]()
A dialog window will appear asking you to select the firmware to restore to. Select the 1.1.2 firmware we downloaded earlier (iPhone1,1_1.1.2_3B48b_Restore.ipsw)
Once complete a dialog box will appear letting you know you have updated successfully. 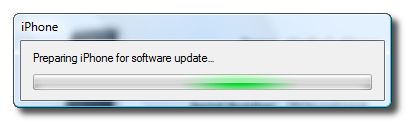

When it finishes updating, the iPhone will have been restarted. The new emergency slider and connect to iTunes image will be on the iPhone.
Step Six
Close iTunes then extract the 1.1.2-jailbreak.zip we downloaded earlier. A folder will be extracted called 1.1.2-jailbreak.
Double click windows.bat from within this folder to start the jailbreak. NOTE***: Make sure you have the latest version of Java installed. You can find it here: http://www.java.com/ 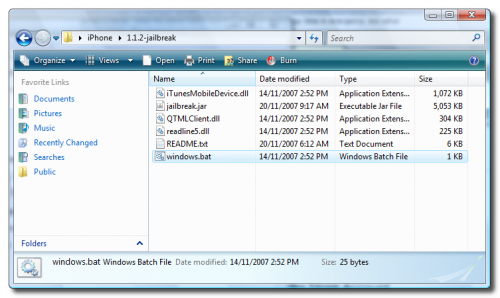
Step Seven
A popup will appear asking you to enter the desired password and whether or not to enable SSH. Make sure you check to enable SSH and then press Jailbreak! 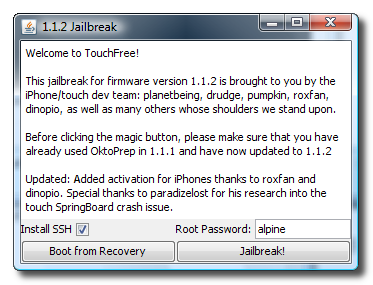
Whens it done a popup will appear letting you know the jailbreak has been successful! During this process the phone may be rebooted a few times. 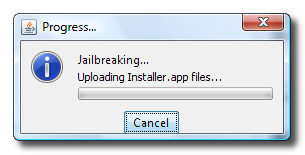
![]()
You have an jailbroken iPhone!!!
NOTES:
I’m rapidly improving the quality of my own screenshots; however, some of them have been obtained from around the net. Most notably I’d like to give thanks to Mark from HacktheiPhone.
If you using this guide for StealthSIM or similar and you are in an unsupported country then you will need to install iWorld from the Installer for your calling to work properly.
THANKS:
Well, I also really need to thank all the developers who have been working like crazy to make this tutorial even possible, especially the iPhone Dev Team.
