 How to Create Custom iPhone Ringtones Using GarageBand
Friday, 14th December 2007, 04:12 pm
Step by step instructions on how to create a ringtone for your iPhone using GarageBand.
With the latest release to GarageBand you can now create your own ringtones and export them directly into iTunes! These ringtones can then be easily synced to your iPhone.
Step One
If you have not updated your GarageBand then do so by selecting Software Update from the Apple menu at the top left of the screen. Alternatively you can download the GarageBand update directly from here: http://www.apple.com/support/downloads/garageband411.html.
Step Two
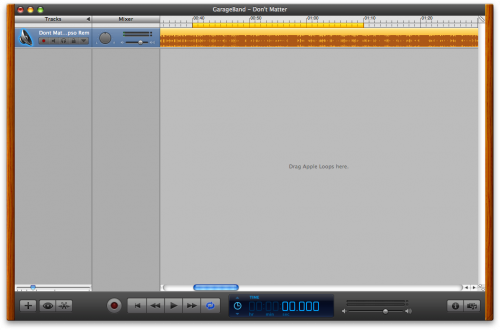
After you have installed the GarageBand update you can launch the program by clicking its icon in the dock. ![1959[1]](http://iphone.pocitac.com/images/JakvytvoitvlastnvyzvnnvGarageBandu_CCD7/19591.png)
Step Three
If prompted by an introductory screen, click Ok. 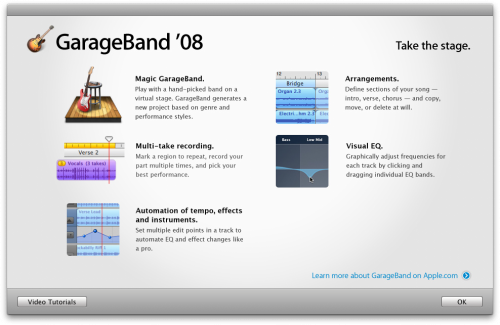
Step Four
Click to select Create New Music Project from the popup menu that appears. If this menu does not appear and you go straight into GarageBand then select New from the File menu to get this menu. 
Step Five
A New Project dialog will appear. Enter the name of your ringtone into the Save As entryfield then click the Create button. 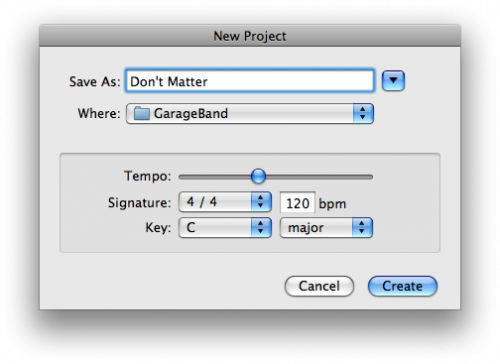
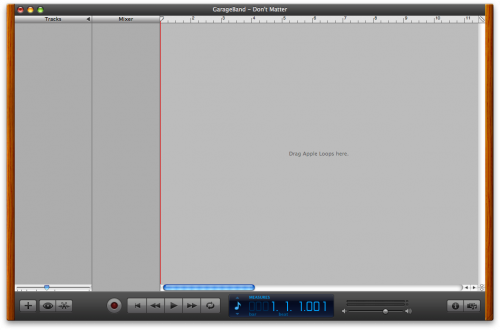
Step Six
GarageBand will now open with a default Grand Piano Track and a Digital Keyboard. Click the red circle at the top left of the keyboard to close it. Now select the Grand Piano track and select Delete Track from the Track menu to remove it. You should now have a blank project to work with. ![1965[1]](http://iphone.pocitac.com/images/JakvytvoitvlastnvyzvnnvGarageBandu_CCD7/19651.png)
Step Seven
Open a new Finder window by selecting its icon in the dock. Navigate to the location of the song you would like to use as a ringtone. Drag this file into the GarageBand window. You will notice that a new track has been created for the song. 
Step Eight
Click the Cycle Region button to the right of the Fast Forward button. ![]()
You will notice that a small region has been added across the top of your newly added track. A portion of this region is highlighted in orange. This is the cycle region and for our purposes is the region we use to define our ringtone. 
Step Nine
Select Show Time in LCD from the Control Menu. ![1970[1]](http://iphone.pocitac.com/images/JakvytvoitvlastnvyzvnnvGarageBandu_CCD7/19701.png)
Notice the Timeline is now shown in minutes and seconds rather then in measures. 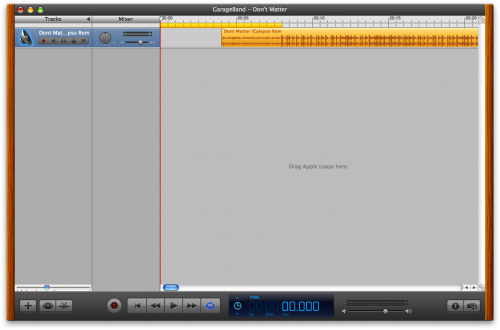
Step Ten
Take your mouse and create a cycle region which spans the section of the song you would like to use as your ringtone. Do this by dragging the mouse across the top of the song region you want to select. Once you have made a basic selection you can fine tune it by dragging the ends of the orange bar. ![]()
Step Eleven
Use the Zoom control to help you fine tune you selection. ![1972[1]](http://iphone.pocitac.com/images/JakvytvoitvlastnvyzvnnvGarageBandu_CCD7/19721.png)
If you want to be even more exact you can use the Track Editor to see the track in more detail. ![]()

Step Twelve
Use the Play button to preview your selection to make sure it sounds right. ![]()
Step Thirteen
We are now going to add two effects to the track. We do this to optimize the track for playback on the iPhone. You do not have to do this and could just skip to Step Sixteen. I would suggest applying these steps because with most tracks the iPhone distorts the sound terribly.
Now with the track still selected click the Track Info button. ![]()
At the bottom left hand corner of the Track Info window click the Details button. 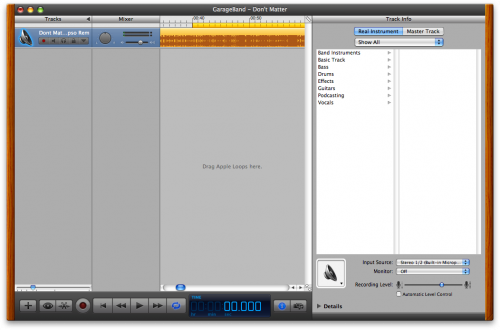
Step Fourteen
Check the box next to the Compressor effect and then select a compressor type. I selected Vocal Compression Basic. You could select whichever you think works best. ![1981[1]](http://iphone.pocitac.com/images/JakvytvoitvlastnvyzvnnvGarageBandu_CCD7/19811.png)
You may get prompted to confirm the change. If so, click the Continue button. 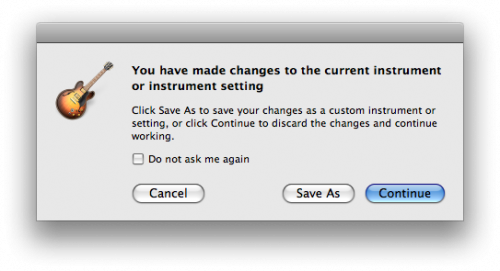
Step Fifteen
From the dropdown menu below Compressor select AUHipass. ![1982[1]](http://iphone.pocitac.com/images/JakvytvoitvlastnvyzvnnvGarageBandu_CCD7/19821.png)
Click the Pencil Button at the right to bring up the Manual Settings dialog. Enter a cutoff frequency of around 150. You can play around with this setting; however, 150 seems to take care of the bass distortion on my iPhone. Click the red circle at the top left of the popup window to close it. 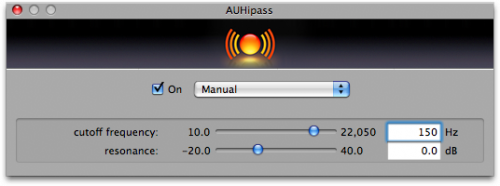
Step Sixteen
Listen to the track again to make sure it sounds good. Click Send Ringtone to iTunes from the Share menu. ![1984[1]](http://iphone.pocitac.com/images/JakvytvoitvlastnvyzvnnvGarageBandu_CCD7/19841.png)
Step Seventeen
The ringtone will export to iTunes and will be added to your ringtone list. 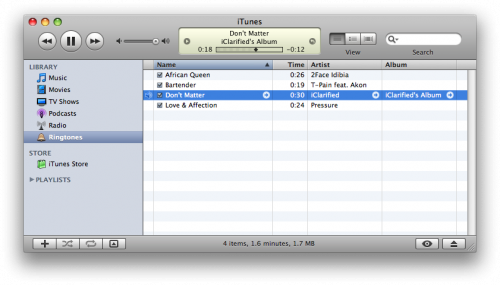
Step Eighteen
Connect your iPhone to the computer and select it from the list of devices on the left.
Step Nineteen
Select the Ringtone tab and make sure your ringtone is selected for synchronization. You can then click the Sync button. 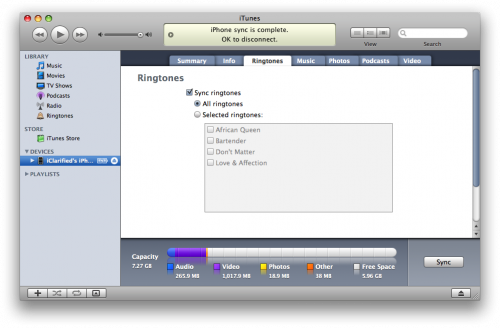
Your ringtone will now appear on your iPhone’s Ringtone list!
