 How to Add Custom Logos to Your iPhone Using PwnageTool
Monday, 14th April 2008, 10:04 pm
Instructions on how add Custom Logos to your iPhone using PwnageTool IPSW Builder.
These are instructions on how to add Custom Logos to your iPhone using PwnageTool IPSW Builder.
You need to have Pwned your iPhone already to do this. For instructions on how to do that click here
Make sure you have the latest version of PwnageTool before starting. Click Check for Updates.. from the PwnageTool Menu to update your software.
Step One
Launch PwnageTool by double clicking its application icon.![4522[1]](http://iphone.pocitac.com/images/JakpidatvlastnlogodoiPhonepesPwnageTool_DCFA/45221.png)
Step Two
Click the Browse .ipsw button.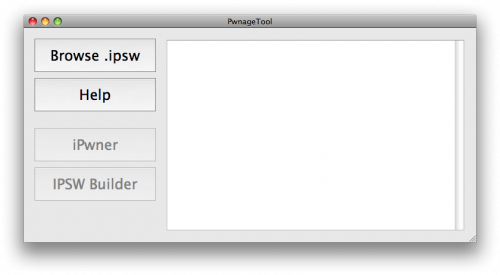
Step Three
Select your iPhone firmware file and click the Open button.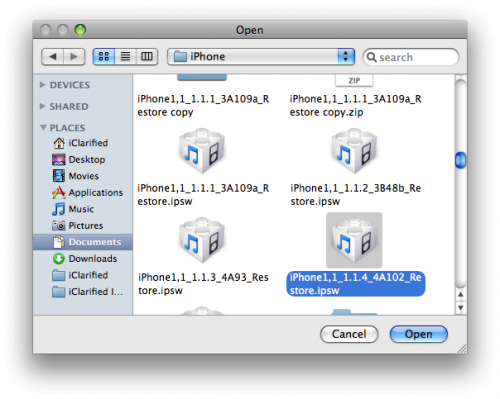
Step Four
Once PwnageTool scans your iPhone firmware it will activate the the IPSW Builder button. Click this button.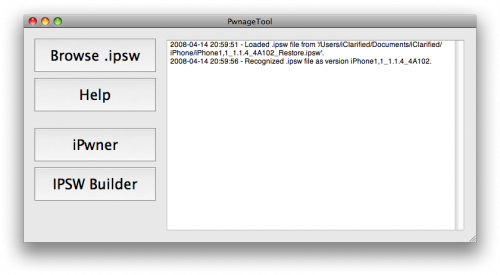
Step Five
Now under the General tab make sure you select the options you require. Most likely you will want to check: Activate phone, Enable baseband update, Neuter bootloader, and Unlock baseband. If you don’t think you will ever change the bootloader settings then you can select Auto delete BootNeuter.app.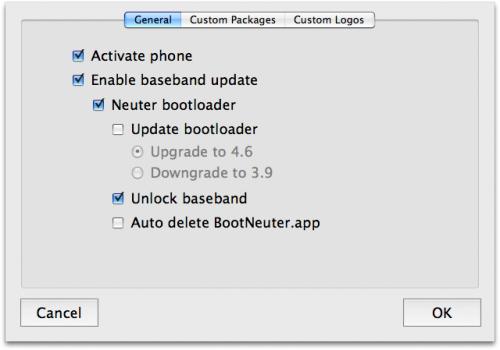
Step Six
Select the Custom Logos tab. You will now be able to browse to select your Boot Logo and Recovery Image.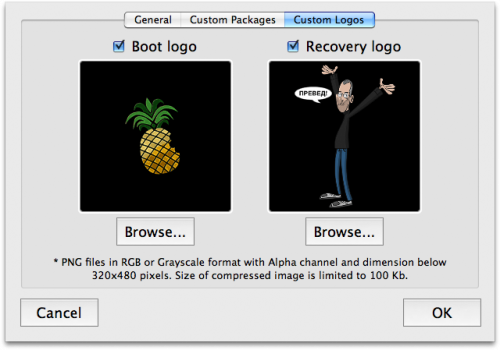
NOTE***: There are stringent requirements for these files. They must be 24bit PNGs, 100KB or less, have an alpha layer, RGB or Greyscale, and 320×480 or less in size.
HINT***: If you want to use a solid image as your background. Create a new transparent image in photoshop just slightly bigger then your original image. Copy your original image onto the new transparent image you just created. Make sure you can see some of the transparency layer on the sides. Then select Save for Web from the File Menu. Make sure you save it as PNG24 with transparency enabled!
Once you have selected your custom images then click the OK button.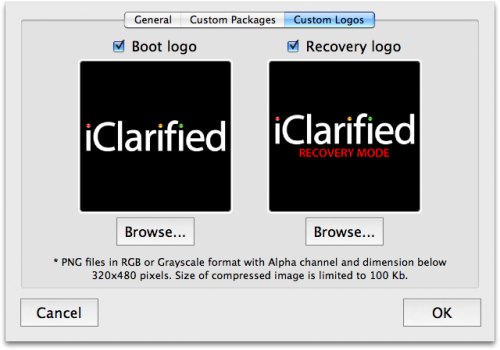
Step Seven
IPSW Builder will now ask you for the bootloader images.![4526[1]](http://iphone.pocitac.com/images/JakpidatvlastnlogodoiPhonepesPwnageTool_DCFA/45261.png)
Download bootloaders.rar from here onto your Desktop. Double click this to extract its contents.
Click the browse button for the bootloader 3.9 image and select BL-39.bin file from your Desktop.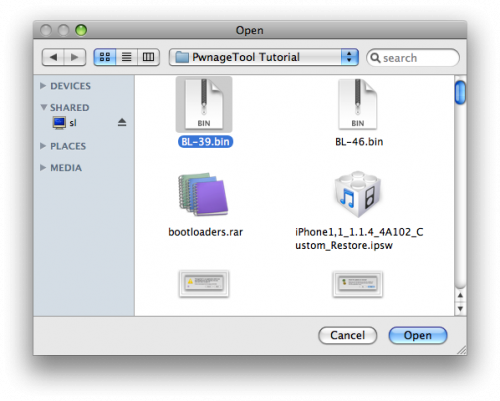
Click the browse button for the bootloader 4.6 image and select BL-46.bin file from your Desktop.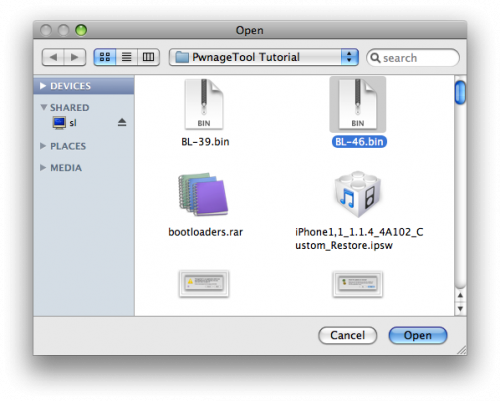
Finally click the OK button.![4529[1]](http://iphone.pocitac.com/images/JakpidatvlastnlogodoiPhonepesPwnageTool_DCFA/45291.png)
Step Eight
IPSW will ask you to select where to save the custom ipsw file. Click the Save button.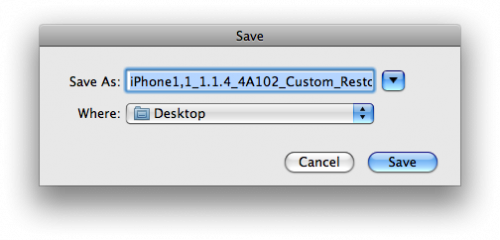
Step Nine
IPSW Builder will then ask you to login using your administrator username and password. Do this then click the OK button.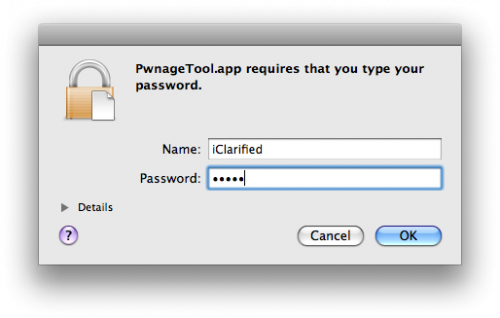
Step Ten
PwnageTool will then show you that IPSW Builder has completed successfully.
You can now use iTunes to restore to your custom ipsw file. Once restored you will have your custom boot images!!!!
